In this tutorial, we'll be using the email account name "jeff@kkoncepts-staff.com" as our example. So where ever you see that account name, you should use your account name instead. Please note that if your email address is "user@kkoncepts.net", then your account name is simply "user". But if your email address ends in anything else, then your account name is your full email address.
Step 1 - Install the calendar software
If you have not already done so, download and install the Lightning Calendar add-on for Thunderbird. The official add-on can be found here at www.mozilla.org. (If you prefer, there's also an unofficial version of the add-on hosted at www.scalableogo.org which includes a number of the patches which will eventually become part of Lightning version 1.0.)
Download the .xpi file for your operating system and then install it by selecting the "add-ons" item from the "Tools" menu. Click the "Install" button an navigate to the .xpi file you just downloaded to install it.
Step 2 - Publish your calendar (Optional)
If you already have a local calendar which you would like to share, then you'll need to Publish that calendar to the KKoncepts server. (If you don't have an existing calendar that you wish to publish, then ignore this step and go to step 3.)
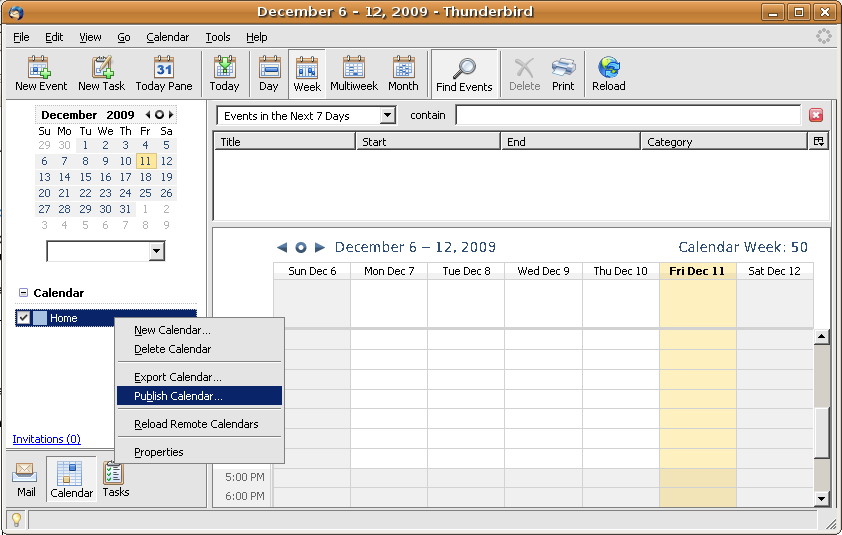
By default, Lightning comes with a local calendar called "Home". We'll Publish that calendar as our shared calendar, but you can publish any calendar you want. (But you can only publish one.)
To publish your calendar, right-click on the name of the calendar you wish to publish and select "Publish Calendar".
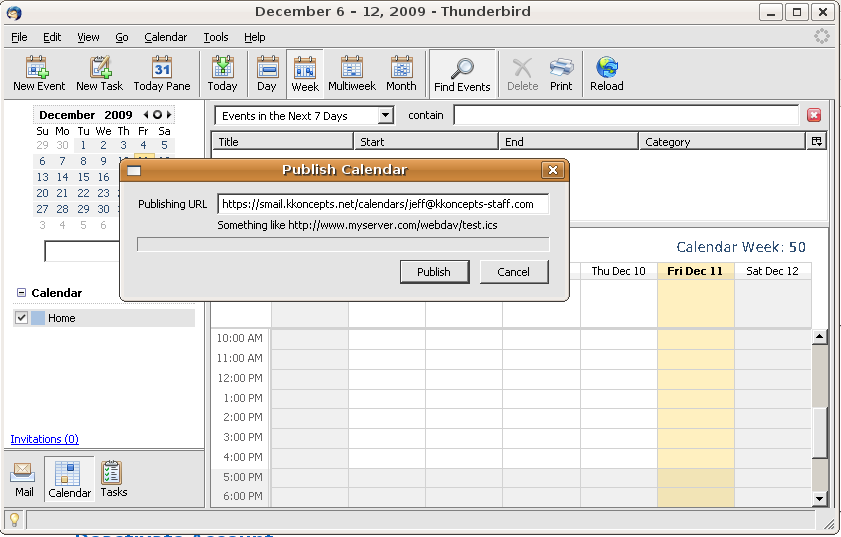
A dialog box will appears asking you for the URL to publish the calendar. Enter "https://smail.kkoncepts.net/calendars/your-email-account-name". Since our email account name in this tutorial is "jeff@kkoncepts-staff.com", we'll enter "https://smail.kkoncepts.net/calendars/jeff@kkoncepts-staff.com".
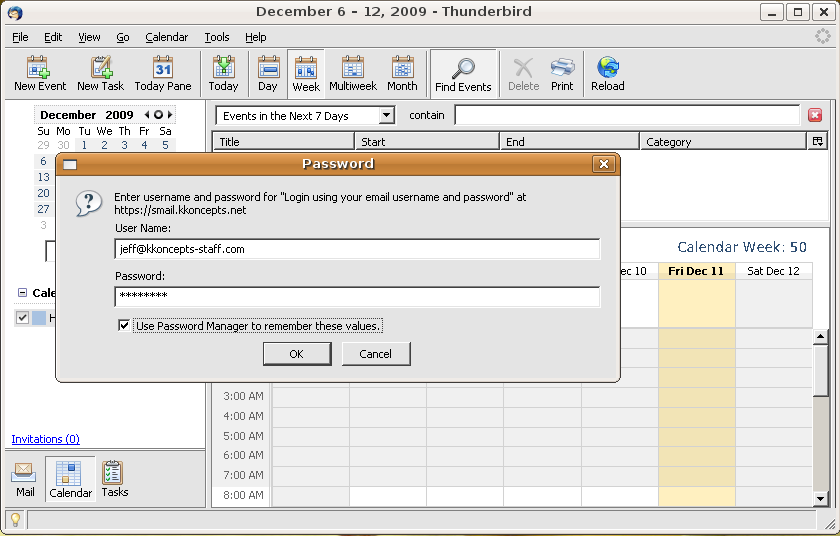
When you hit the "Publish" button, you'll be asked to login. Enter your email username and password. If you don't want to be forced to enter this information every time start Thunderbird, you'll want to check the box to use the Password Manager to remember this information. Then press "OK" to log in and publish your calendar.
If you get an error, then you didn't enter the correct email account name and password. Simply try again. Assuming all goes well, however, you can press "OK" to get back to the calendar screen in Thunderbird.
Step 3 - Subscribe to your calendar
Now you need to subscribe to your own calendar on the server so that Thunderbird will keep the copy on your local machine and the copy on the server in sync.
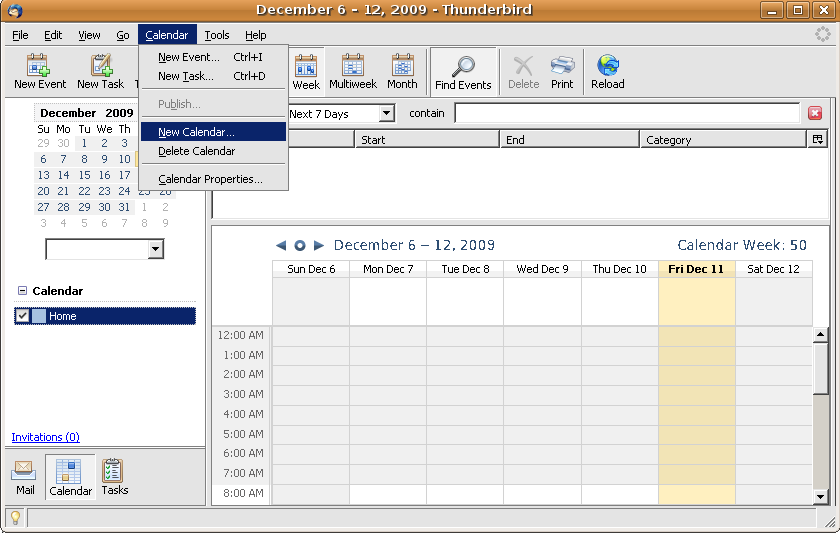
From the "Calendar" menu, select "New Calendar".
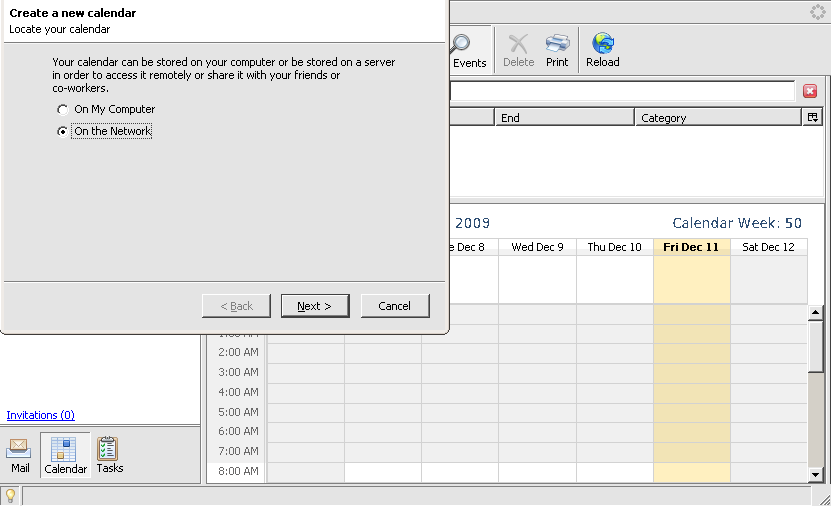
When the "New Calendar" wizard appears, select "On the Network" for the location of the new calendar.
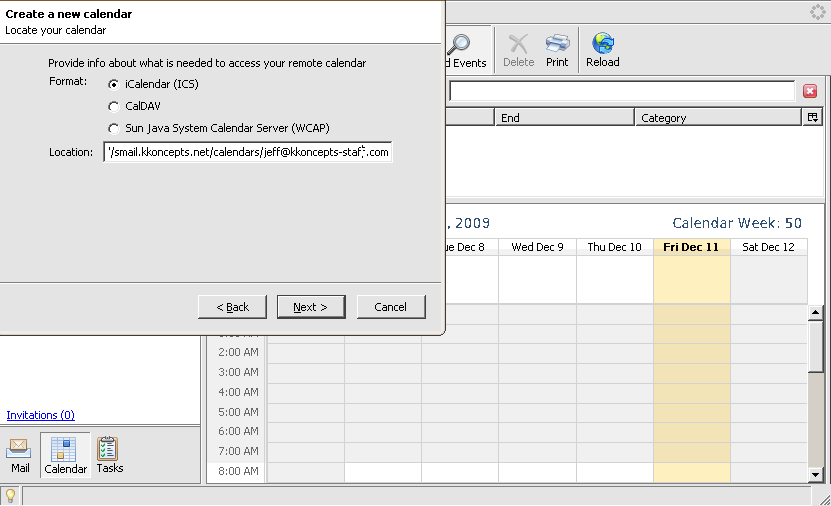
Press "Next" and then in the next wizard pane, select "iCalendar (ICS)" for the "Format" of the calendar, and enter "https://smail.kkoncepts.net/calendars/your-email-account-name" for the "Location" of the calendar. (This is the same URL we just entered if you published your calendars in Step 2.) Since our email account name in this tutorial is "jeff@kkoncepts-staff.com", we'll enter "https://smail.kkoncepts.net/calendars/jeff@kkoncepts-staff.com".
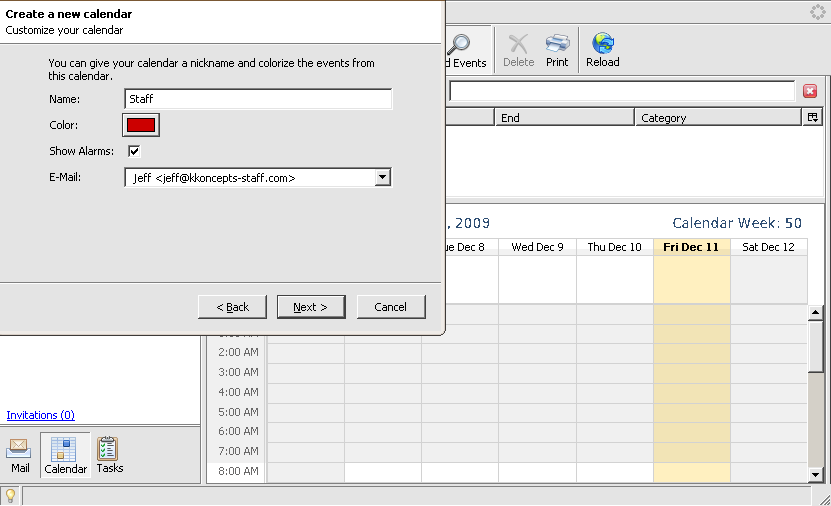
Press "Next" again and in the following screen you can customize the name and look of your calendar. In our example, we'll call our calendar "Staff" (that's the name that will appear in the Calendar listing in Thunderbird) and assign it a red color. We'll also select our email address. This address will be used if you sent out invitations to meetings through your calendar.
Press "Next" again and if you already published a calendar and saved the username and password, nothing more will be needed. If you have not already entered and saved your username and password, you'll be prompted to do that now. Enter your email username and password and check the box to allow the Password Manager to remember these entries if you don't wish to enter them every time to start Thunderbird.
Now you'll be returned to the Calendar page in Thunderbird where you'll see that you have a new calendar listed with the name and color you just gave it.
Step 4 - Remove local calendar (only needed if you published a calendar in Step 2)
If you published a calendar and then subscribed to it, you'll notice that you have two of every entry listed, one from your original calendar and one from your newly subscribed calendar. To fix this, we need to remove the local copy of our calendar and only keep the subscribed copy. Then we'll only have one copy of all our events, etc.
Select your original calendar (the one you published) to highlight it, and from the "Calendar" menu, select "Delete Calendar". In our example, we published a calendar called "Home", so that's the one we want to delete. We'll leave the calendar called "Staff", because that's the name we gave to the calendar when we subscribed to it.
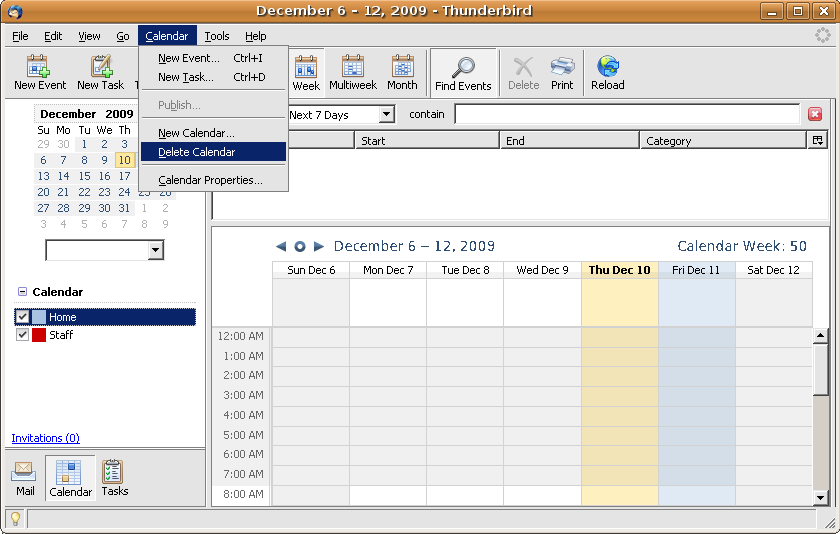
That will leave us with only our subscribed calendar called "Staff". (You can rename a calendar any time you want - the name is only for your convenience and has no connection to the name of the actual subscribed calendar on the server.)
Step 5 - Set up off-line access (Optional)
Since our local calendar is now synced to the same calendar on the KKoncepts server, this means that if you are NOT connected to the internet, you will not be able to create new events. You can still view your calendar, but you can't create anything new in it, since Lightning can't synchronize with the copy on the server.
If you expect always to be connected to the internet, this is no problem. But if you anticipate needing to create new entries in your calendar even when off-line, then you should set up the calendar for off-line access.
Select your calendar to highlight it and from the "Calendar" menu, select "Calendar Properties".

Check the box which says "Cache (EXPERIMENTAL, requires restart)", and press "OK". Now restart Thunderbird for this change to take effect.

Now, even when you are off-line, you can still create new events in your calendar. The only caveat is that when you get back on-line you need to MANUALLY publish your calendar again in order to push those changes to the server. To do this, simply follow the Step 2 again, but this time publishing the calendars you are already subscribed to. This will re-sync the copy of your calendar on the server with your local copy.
That's all there is to it. Now your calendar is stored on the server and, if your email administrator has allowed it, you can invite others in your email domain to view your calendar. Log into the Useradmin web page and you can select which email users to allow to view your calendar.